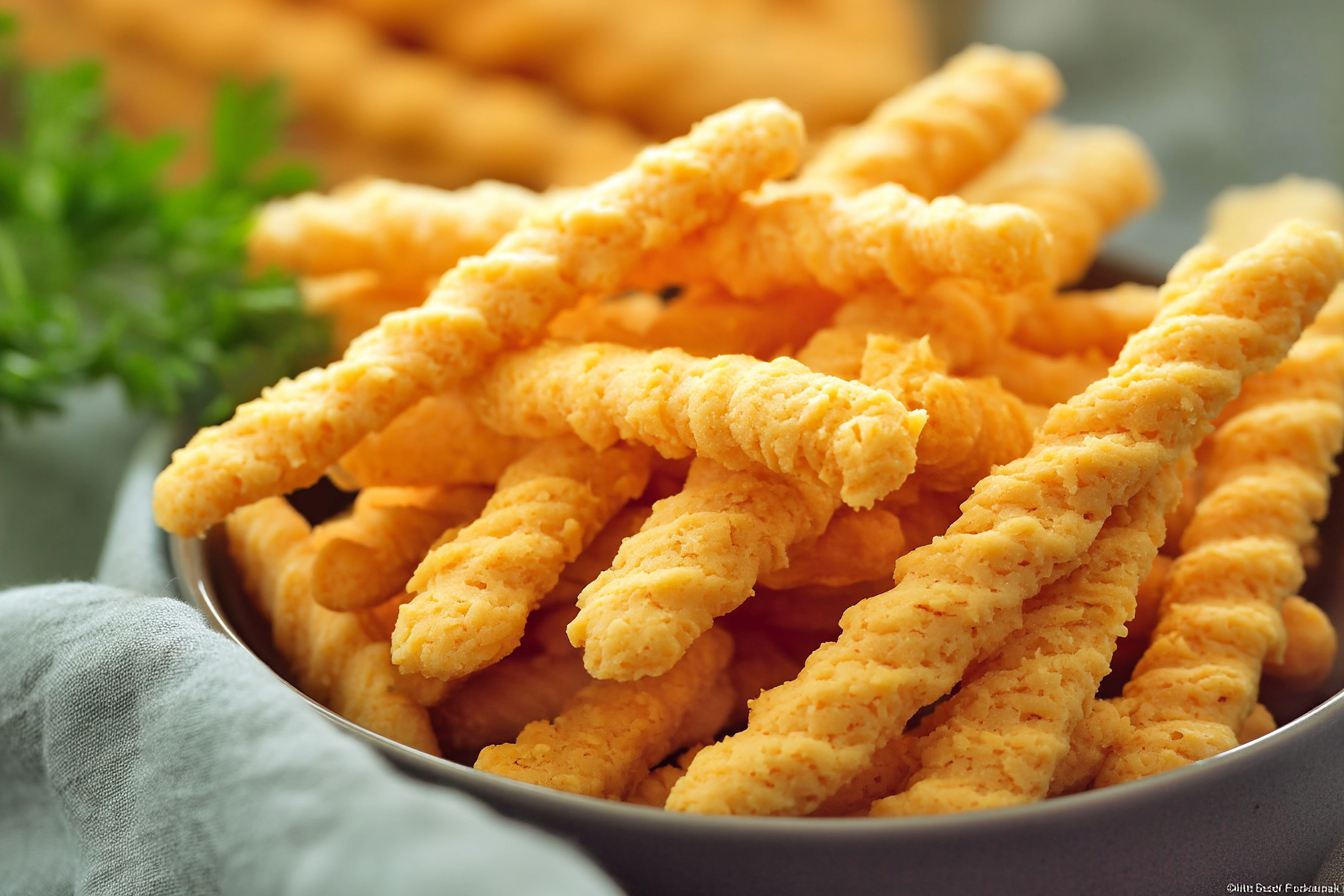
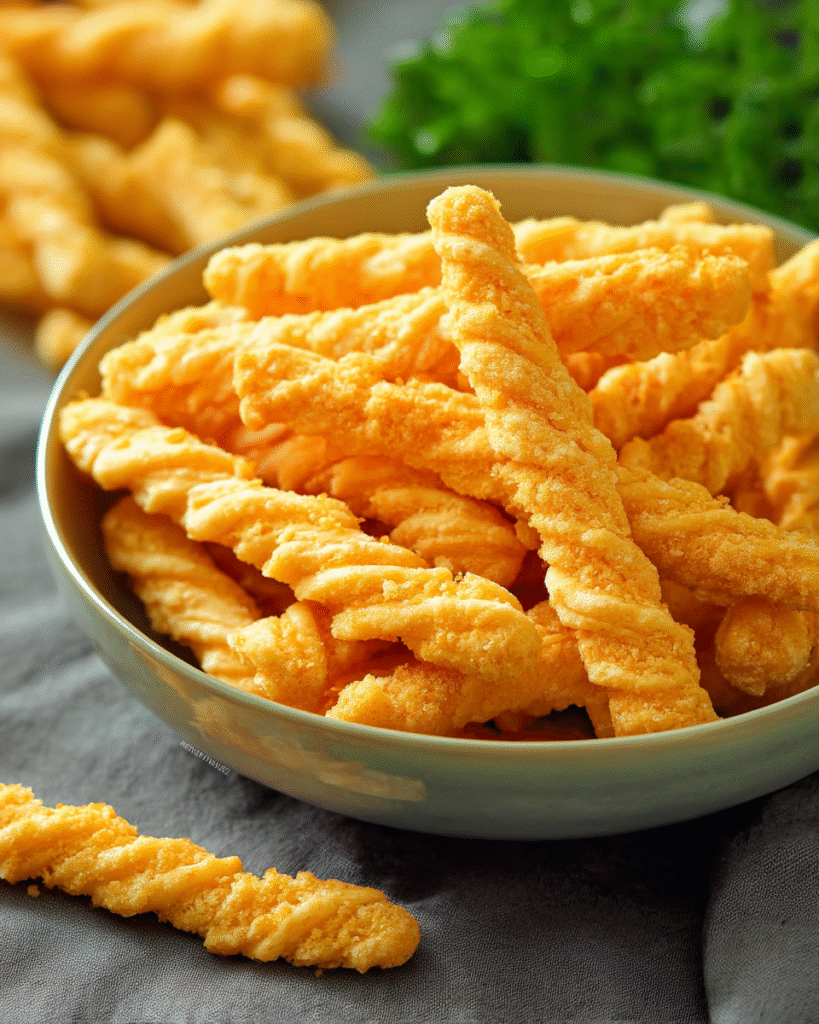
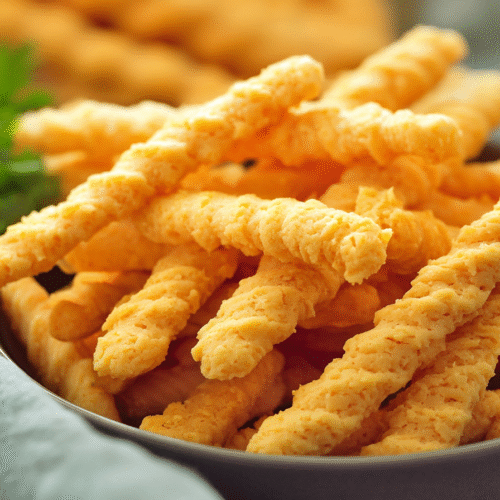
Hey there, friend! Let’s talk about a snack that’s going to become your new obsession: Cheese Straws. These golden, crispy sticks are packed with sharp cheddar flavor, a hint of buttery richness, and just the right amount of crunch that makes them impossible to stop eating. They’re like the lovechild of a cracker and a cheese puff, with a savory, melt-in-your-mouth vibe that’s pure comfort. Perfect for game nights, holiday parties, or just munching on a lazy afternoon, these cheese straws are a total crowd-pleaser. I first fell in love with them at a family gathering when my aunt brought a tin of her homemade batch, and since then, I’ve been tweaking my own recipe to get that perfect balance of cheesy and crisp. They’re now a staple in my kitchen because they’re so easy to whip up and always make me look like a snack-time rockstar. Get ready to add these to your rotation—you’re going to love them as much as I do!
Why You’ll Love This Recipe
These cheese straws are more than just a snack—they’re a little moment of joy in every bite. Here’s why they’re about to become your go-to:
- Ready in Under 45 Minutes: From mixing to munching, you’ll have these cheesy delights ready in no time, making them perfect for last-minute gatherings or sudden snack cravings.
- Bold, Cheesy Flavor: The sharp cheddar and a touch of cayenne deliver a savory punch that’s comforting yet exciting, satisfying both cheese lovers and flavor chasers.
- Crowd-Pleasing Snack: Kids, adults, picky eaters—everyone loves these crispy straws. They’re a safe bet for parties, potlucks, or family movie nights.
- Super Easy to Make: With just a handful of ingredients and no fancy equipment, even beginner bakers can nail this recipe. A food processor makes it even breezier.
- Versatile and Customizable: Swap cheeses, add herbs, or crank up the spice to suit your mood. These straws are as flexible as they are delicious.
- Perfect for Gifting: Pack them in a cute tin or jar, and you’ve got a homemade gift that’s sure to impress neighbors, coworkers, or holiday hosts.
- Long-Lasting Crunch: They stay crispy for days (if you can resist eating them all at once!), making them great for prepping ahead.
Ingredients You’ll Need
Here’s the lineup for these cheesy wonders—simple ingredients that pack a big flavor punch:
- Sharp Cheddar Cheese: Freshly grated is best for that bold, tangy kick. Pre-shredded can work, but it’s less melty due to anti-caking agents.
- All-Purpose Flour: The backbone of the dough, giving the straws their structure and crispiness. Keep it simple with regular flour.
- Unsalted Butter: Cold and cubed, it creates that flaky, buttery texture. Don’t skip the chill—it’s key for rich flavor.
- Salt: Just a pinch enhances the cheese and balances the richness. Use kosher or table salt for even distribution.
- Cayenne Pepper: A tiny dash adds a subtle warmth that wakes up the flavors. Skip it for kids or spice-averse folks, or double it for a kick.
- Cold Water: A splash helps the dough come together without making it sticky. Keep it ice-cold for the best texture.
- Parmesan Cheese (Optional): A little grated Parmesan mixed into the dough or sprinkled on top adds an extra nutty, savory layer.
(Note: A complete list of ingredients with exact measurements is included in the instructions section below.)
How to Make It (Step-by-Step Instructions)
Let’s get these cheese straws rolling! These steps are super straightforward, and I’ll sprinkle in some tips to make sure they turn out perfect every time.
Step 1: Prep Your Ingredients
Grate your cheddar cheese (trust me, fresh is worth the effort) and cube the cold butter. Measure out your flour, salt, and cayenne, and keep a small bowl of ice-cold water handy. Having everything ready makes the process smooth and stress-free. Pro tip: Pop your cheese and butter in the fridge until you’re ready to use them—cold ingredients are key for flaky straws.
Step 2: Make the Dough
In a food processor, pulse the flour, salt, and cayenne until combined. Add the cold butter cubes and pulse until the mixture looks like coarse crumbs, about 10-12 pulses. Toss in the grated cheddar (and Parmesan, if using) and pulse a few more times until the cheese is mixed in. Drizzle in 2-3 tablespoons of cold water, one tablespoon at a time, pulsing until the dough just starts to clump together. It should hold when pinched but not be wet. Note: If you don’t have a food processor, use a pastry cutter or your fingers to mix, but work quickly to keep the butter cold.
Step 3: Chill the Dough
Turn the dough out onto a lightly floured surface and gently knead it a few times to bring it together. Shape it into a flat disk, wrap it tightly in plastic wrap, and chill in the fridge for at least 30 minutes. This step helps the dough firm up, making it easier to roll and cut. Avoid skipping this: Chilling prevents the straws from spreading too much while baking.
Step 4: Roll and Cut the Straws
Preheat your oven to 350°F (175°C) and line two baking sheets with parchment paper. On a lightly floured surface, roll the chilled dough into a rectangle about 1/8-inch thick. Use a sharp knife or pizza cutter to slice the dough into strips, about 1/4-inch wide and 4-6 inches long. Don’t worry about perfection—rustic straws are just as tasty! Tip: If the dough gets too soft, pop it back in the fridge for 10 minutes to firm up.
Step 5: Bake to Golden Perfection
Place the strips on the prepared baking sheets, leaving a little space between them (they won’t spread much). Bake for 12-15 minutes, rotating the trays halfway through, until the straws are golden and crisp. Keep an eye on them—thinner straws cook faster and can burn if left too long. Pro tip: If you want extra cheesy straws, sprinkle a bit more grated Parmesan on top before baking.
Step 6: Cool and Crunch
Let the cheese straws cool on the baking sheets for 5 minutes, then transfer them to a wire rack to cool completely. They’ll crisp up as they cool, so resist the urge to munch right away (though I won’t judge if you sneak one!). Once cooled, they’re ready to serve or store. Note: If they soften over time, re-crisp them in a 300°F oven for 5 minutes.
Helpful Tips
Want to make these cheese straws even more of a breeze? Here are some insider tips to level up your game:
- Meal Prep Like a Pro: Make a double batch of dough and freeze half (wrapped tightly) for up to 3 months. When you’re ready, thaw in the fridge overnight, roll, and bake for fresh straws anytime.
- Storage Savvy: Store cooled cheese straws in an airtight container at room temperature for up to 5 days. For longer storage, pop them in the fridge for up to 2 weeks or freeze for up to 3 months. Layer with parchment to prevent sticking.
- Reheating for Crunch: If they lose their crispiness, reheat in a 300°F oven for 5-7 minutes to restore that perfect crunch. Avoid microwaving—it’ll make them soggy.
- Perfect Pairings: Serve with a chilled glass of white wine or sparkling water with lemon for a classy snack. They’re also great with dips like pimento cheese, hummus, or a spicy marinara for party vibes.
- Creative Twists: Swap cheddar for Gouda or pepper jack for a different flavor. Add dried herbs like rosemary or thyme to the dough for an herby kick, or roll the straws in sesame seeds before baking for extra texture.
- Shape Variations: Instead of straws, cut the dough into small squares or rounds for bite-sized cheese crackers. Or twist the strips before baking for a fun spiral effect.
- Spice It Up: For heat lovers, increase the cayenne or add a pinch of smoked paprika or chili powder to the dough. You can also brush the baked straws with a little melted butter and dust with chili flakes.
Frequently Asked Questions (FAQs)
Q1: Can I make these cheese straws ahead of time?
A1: Totally! Bake them up to 5 days in advance and store in an airtight container at room temperature. You can also make the dough ahead, chill it for up to 2 days, or freeze it for up to 3 months before rolling and baking.
Q2: Can I freeze this recipe?
A2: Yes! Freeze baked cheese straws in an airtight container with parchment between layers for up to 3 months. Thaw at room temperature and re-crisp in a 300°F oven for 5 minutes. You can also freeze the dough disk, thaw overnight in the fridge, and bake as directed.
Q3: What if I don’t have a food processor?
A3: No worries! Use a pastry cutter, two forks, or your fingers to mix the butter into the flour until crumbly. Grate the cheese finely and mix it in with a wooden spoon, then add cold water slowly to form the dough. It’s a bit more work but totally doable.
Q4: Is this recipe good for meal prep?
A4: Oh, yeah! Cheese straws are awesome for prepping ahead. Bake a big batch and store them for quick snacks throughout the week. They’re great for lunchboxes, party platters, or grabbing on the go.
Q5: How do I make these vegetarian or vegan?
A5: This recipe is naturally vegetarian! For a vegan version, swap the cheddar for a sharp vegan cheese (like cashew-based varieties), use vegan butter, and ensure your flour is vegan-friendly. Add a touch of nutritional yeast for extra cheesy flavor.
I whip up these Cheese Straws at least once a month, especially when I’m hosting friends or need a quick snack to pair with a glass of wine—they’re always a hit! The cheesy, crispy goodness makes them feel like a treat, and I love that they’re so easy to make with stuff I usually have on hand. My final tip? Serve them with a bowl of spicy tomato jam for dipping—it’s a combo that’ll blow your mind. Give this recipe a try and let me know how it turns out—it’s one of my go-tos for effortless, crowd-pleasing snacking! Drop a comment below or share a pic of your cheesy creations; I’d love to see your kitchen magic.
Cheese Straws Recipe
Ingredients
- 3 cups shredded sharp cheddar cheese freshly grated
- ¾ cup unsalted butter softened
- 2 ¼ cups all-purpose flour
- ½ teaspoon salt
- ½ teaspoon cayenne pepper
- ½ teaspoon smoked paprika
- ½ teaspoon garlic powder
- ½ teaspoon onion powder
Instructions
- Preheat oven to 350°F (175°C). Line baking sheets with parchment paper.
- In a large bowl, beat the shredded cheese and softened butter until the mixture is creamy and fluffy.
- In another bowl, whisk together the flour, salt, cayenne pepper, smoked paprika, garlic powder, and onion powder.
- Gradually add the dry mixture to the cheese mixture and beat until a dough forms.
- Fill a cookie press or piping bag fitted with a star tip with the dough. Pipe into 3-inch long strips onto the prepared baking sheets.
- Bake for 10–12 minutes, or until the edges are just golden brown.
- Let cool completely on the pan or wire rack before serving or storing.
Notes
- For extra crispness, make sure to grate your own cheese rather than using pre-shredded.
- Cheese straws can be stored in an airtight container at room temperature for up to 1 week.
- You can freeze the dough for later use—just thaw slightly before piping and baking.
- Adjust the cayenne to taste depending on your spice preference