Homemade Crumpet Recipe
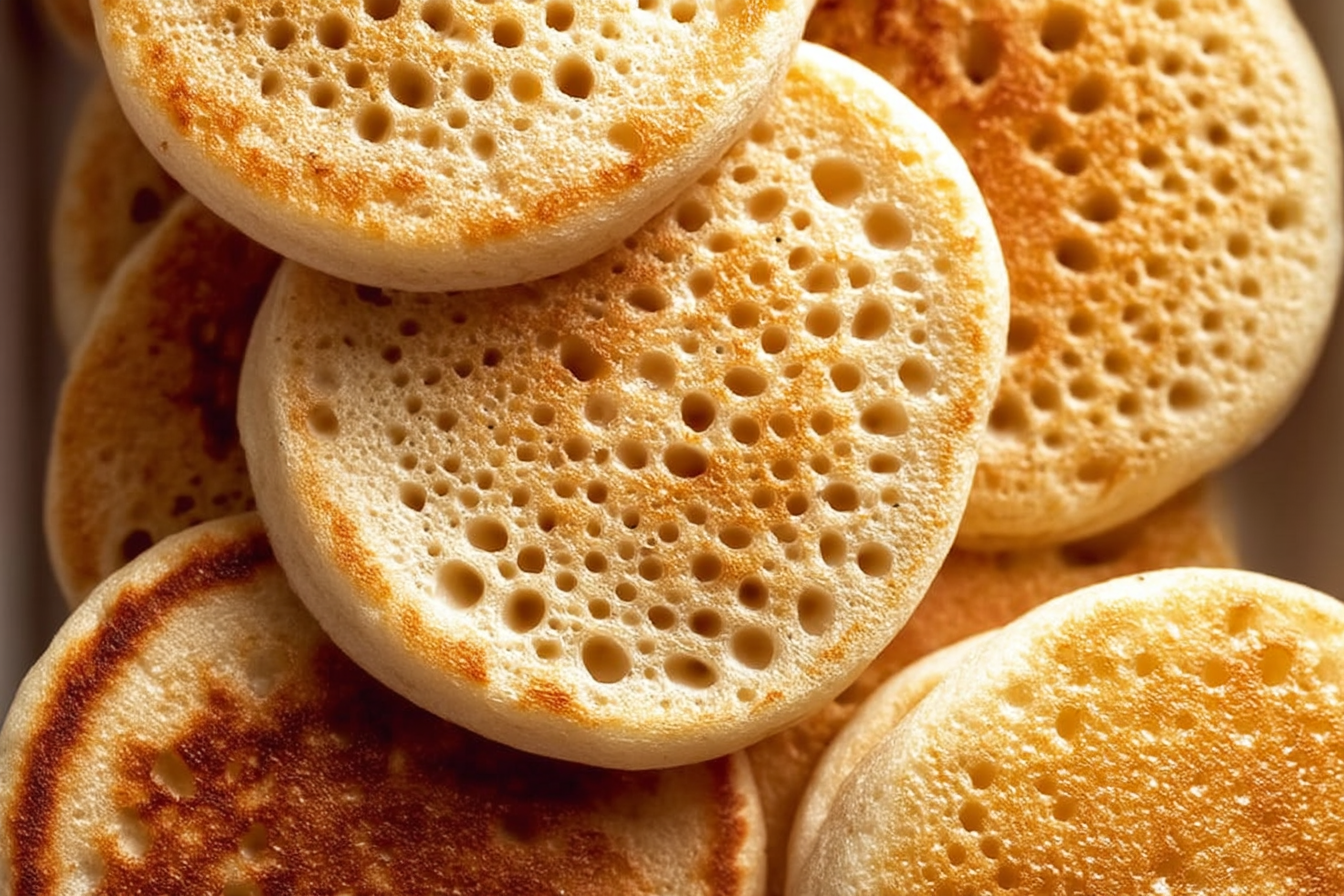
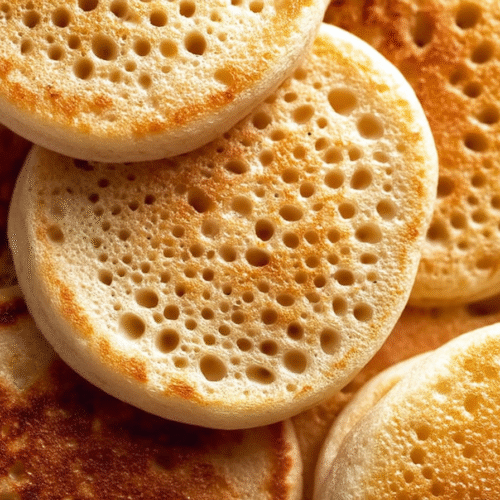
If you’ve never had a fresh, warm crumpet slathered in butter, you’re seriously missing out on one of the coziest breakfast (or tea-time) experiences ever. Crumpets are those round, spongy little guys with golden bottoms and soft, holey tops—perfect for catching melted butter, jam, or a drizzle of honey. Kind of like a cross between an English muffin and a pancake, but uniquely their own thing.
Crumpets are best made fresh, and honestly, they’re easier to make than most people think. With a little patience and a good nonstick pan, you’ll be pulling off bakery-style crumpets in your own kitchen. I started making these during a winter baking phase and got totally hooked. Now they’re in regular rotation for weekend breakfasts, especially when I want something a little special but still simple and comforting.
Why You’ll Love This Recipe
- Super satisfying to make from scratch (and fun to watch them bubble up!)
- Great texture—crispy bottom, soft and chewy inside, signature holes on top
- Pantry-friendly: you probably have most of the ingredients already
- Freezer-friendly, so you can make a batch and enjoy them later
- Totally customizable—top with butter, jam, cheese, or even avocado
- Perfect for brunch, afternoon tea, or even a late-night snack
- No oven needed—just a stovetop and a skillet
Ingredients You’ll Need
- All-purpose flour – This gives the crumpets their structure. Bread flour also works if you want a chewier texture.
- Warm milk – Adds richness and helps activate the yeast.
- Warm water – Helps loosen the batter to the right consistency.
- Active dry yeast – The key to that airy rise and classic holes.
- Sugar – Just a touch, to help feed the yeast.
- Salt – Balances the flavors.
- Baking powder – Gives them an extra puff and improves the texture.
- Oil or butter – For greasing the pan and rings.
(Note: A complete list of ingredients with exact measurements is included in the instructions below.)
How to Make Crumpets (Step-by-Step)
Step 1: Activate the yeast
In a small bowl or jug, combine ¾ cup warm milk, ¾ cup warm water, 1 tsp sugar, and 2¼ tsp (one packet) active dry yeast. Let it sit for 10 minutes until it’s foamy on top. If it doesn’t foam, your yeast might be old—start over with fresh yeast.
Step 2: Mix the batter
In a large bowl, whisk together 2 cups flour and ½ tsp salt. Pour in the yeast mixture and whisk until smooth. It should look like a thick pancake batter. Cover the bowl with a towel or plastic wrap and let it sit in a warm spot for about 1 hour, until bubbly and doubled in size.
Step 3: Add baking powder
Once the batter has rested and is nice and bubbly, stir in ½ tsp baking powder. This gives the crumpets their signature lift and helps form those holes on top.
Step 4: Heat and grease your pan
Use a nonstick skillet or griddle over medium-low heat. Lightly grease the pan and your crumpet rings (you can use metal cookie cutters or egg rings—anything round and about 3–4 inches across). Set the rings in the pan and let them heat for a minute or so.
Step 5: Cook the crumpets
Spoon batter into the rings until they’re about halfway full. Let them cook gently for 8–10 minutes, until the tops are set and full of little holes. The bottoms should be golden brown. Carefully remove the rings, flip the crumpets, and cook for another 1–2 minutes to lightly brown the tops.
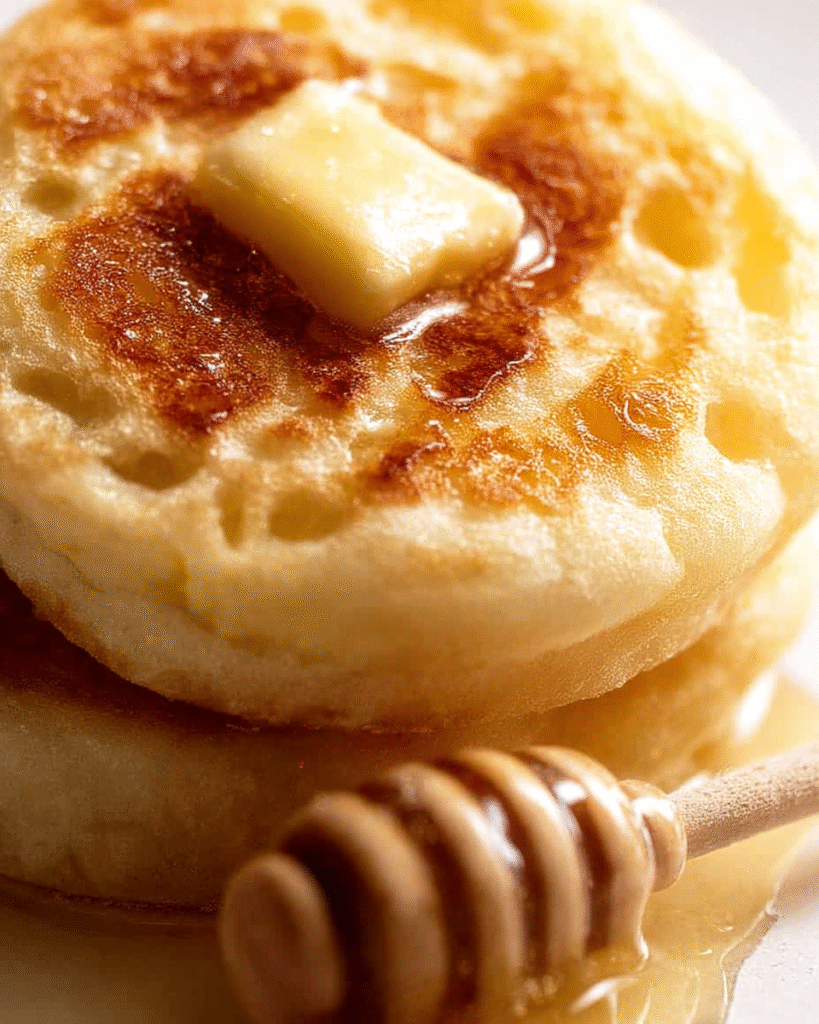
Step 6: Serve warm
Serve crumpets fresh and warm from the pan, or toast them later for extra crispiness. Slather with butter and let it melt into those nooks and crannies—it’s pure magic.
Helpful Tips
No crumpet rings?
You can DIY some with cleaned tuna cans (tops and bottoms removed) or use silicone egg molds. Or go rustic and make them freeform—just expect them to spread more like thick pancakes.
Don’t rush the bubbles
Let the crumpets cook low and slow to give those holes time to form. If you crank the heat, the bottoms will burn before the tops set.
Batch cooking tip
You can cook 3–4 at a time depending on your pan size. Keep finished crumpets warm in the oven (200°F/90°C) while you finish the batch.
Storage
Crumpets keep well in an airtight container at room temp for 2–3 days or in the fridge for up to a week. Reheat in a toaster or toaster oven.
Freezing
Absolutely! Freeze them in a single layer on a baking sheet, then transfer to a zip-top bag once frozen. Toast straight from the freezer—no thawing needed.
Topping ideas
- Classic: Butter and a drizzle of honey
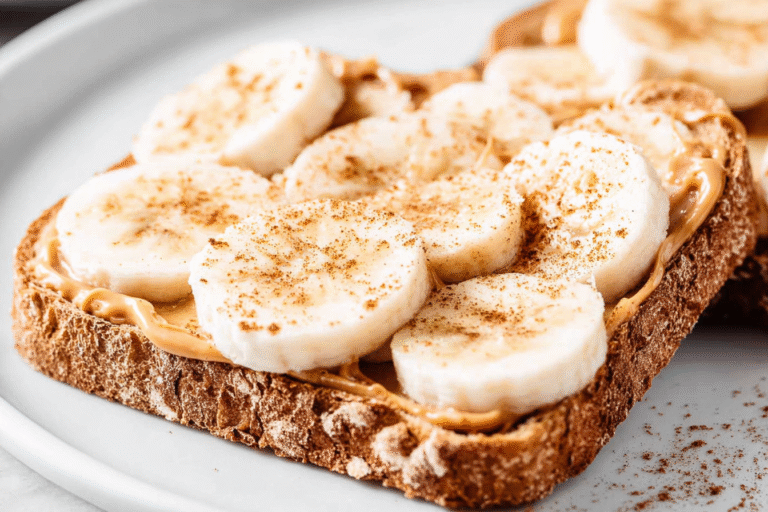
- Sweet: Jam and whipped cream, or peanut butter and banana
- Savory: Cream cheese and smoked salmon, or melted cheddar and herbs
- Brunch-y: Poached egg and avocado with a little chili flake
Frequently Asked Questions
Can I use instant yeast instead of active dry yeast?
Yes, you can use the same amount of instant yeast and skip the 10-minute activation step—just mix it right into the flour and proceed.
What if my batter isn’t bubbly after rising?
Your yeast may have been too old or your liquid was too hot and killed it. Try again with fresh yeast and water/milk around 100–110°F.
Do I have to flip the crumpets?
Technically, traditional crumpets are only cooked on one side, but flipping gives a lightly golden top that’s a bit firmer—up to you!
Can I make these dairy-free?
Yes! Just swap the milk for a non-dairy version like almond or oat milk, and use oil instead of butter for greasing.
Can I use gluten-free flour?
You can try a 1:1 gluten-free flour blend, but results will vary. The texture may not be quite as chewy, and you might need to tweak the batter thickness.
Crumpets have become a cozy breakfast tradition in my home, especially on lazy weekends. Once you make them from scratch, you’ll understand why—they’re warm, nostalgic, and endlessly satisfying. Plus, once you’ve got the hang of it, they’re a breeze to whip up.
Try them out and let me know how yours turn out! Whether you go sweet or savory, there’s no wrong way to crumpet.
Homemade Crumpet Recipe
Ingredients
- 2 cups 250g all-purpose flour
- 1 tsp sugar
- 1 tsp instant yeast
- ½ tsp salt
- 1 ½ cups 375ml warm milk
- ½ cup 125ml warm water
- ½ tsp baking soda
- Butter or oil for greasing rings and pan
Instructions
- Make the batter: In a mixing bowl, whisk together the flour, sugar, yeast, and salt. Gradually add the warm milk and water, whisking until smooth and thick. Cover and let rise for 1 hour until bubbly.
- Prepare the griddle: Lightly grease a non-stick skillet or griddle and metal crumpet rings (you can use cleaned tuna cans with both ends removed if you don’t have rings). Heat the skillet over medium-low heat.
- Add baking soda: Dissolve the baking soda in 1 tablespoon of warm water and stir it into the risen batter. Let it rest for 5 minutes.
- Cook the crumpets: Place greased rings on the hot griddle and fill each ring about 2/3 full with batter. Cook for 6–8 minutes, or until the top is set and full of bubbles. Remove the rings, flip the crumpets, and cook for 1–2 minutes more.
- Serve: Let the crumpets cool slightly, then toast and serve with butter, honey, or jam.
Notes
- Batter should be thick but pourable — adjust water if needed.
- Don’t skip the resting period after adding baking soda; it ensures proper bubble formation.
- Freeze extra crumpets and reheat from frozen in a toaster.