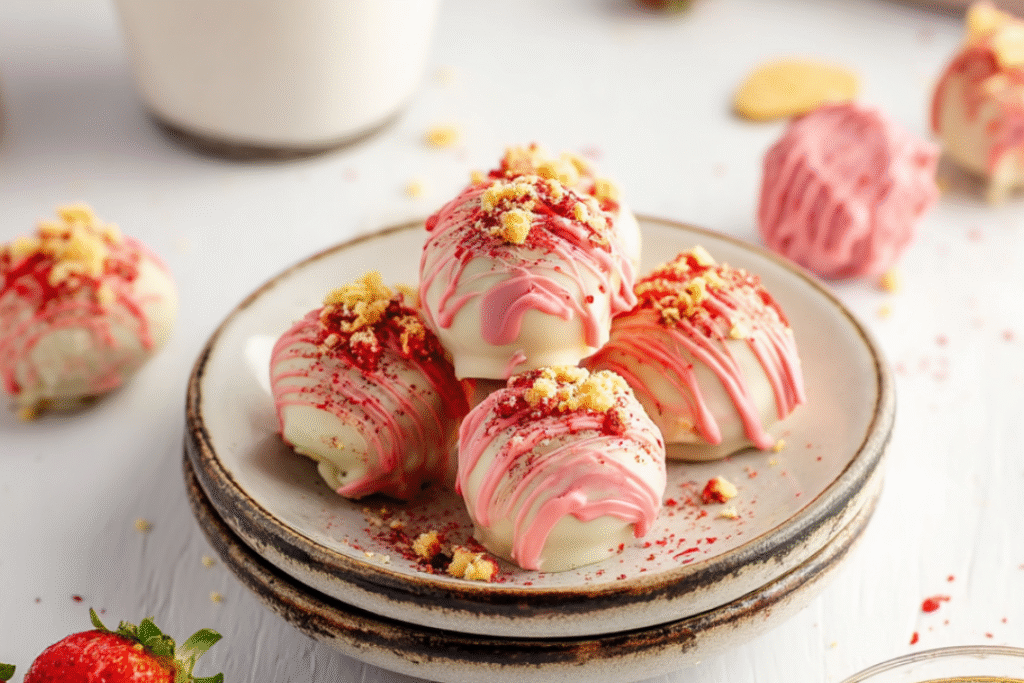
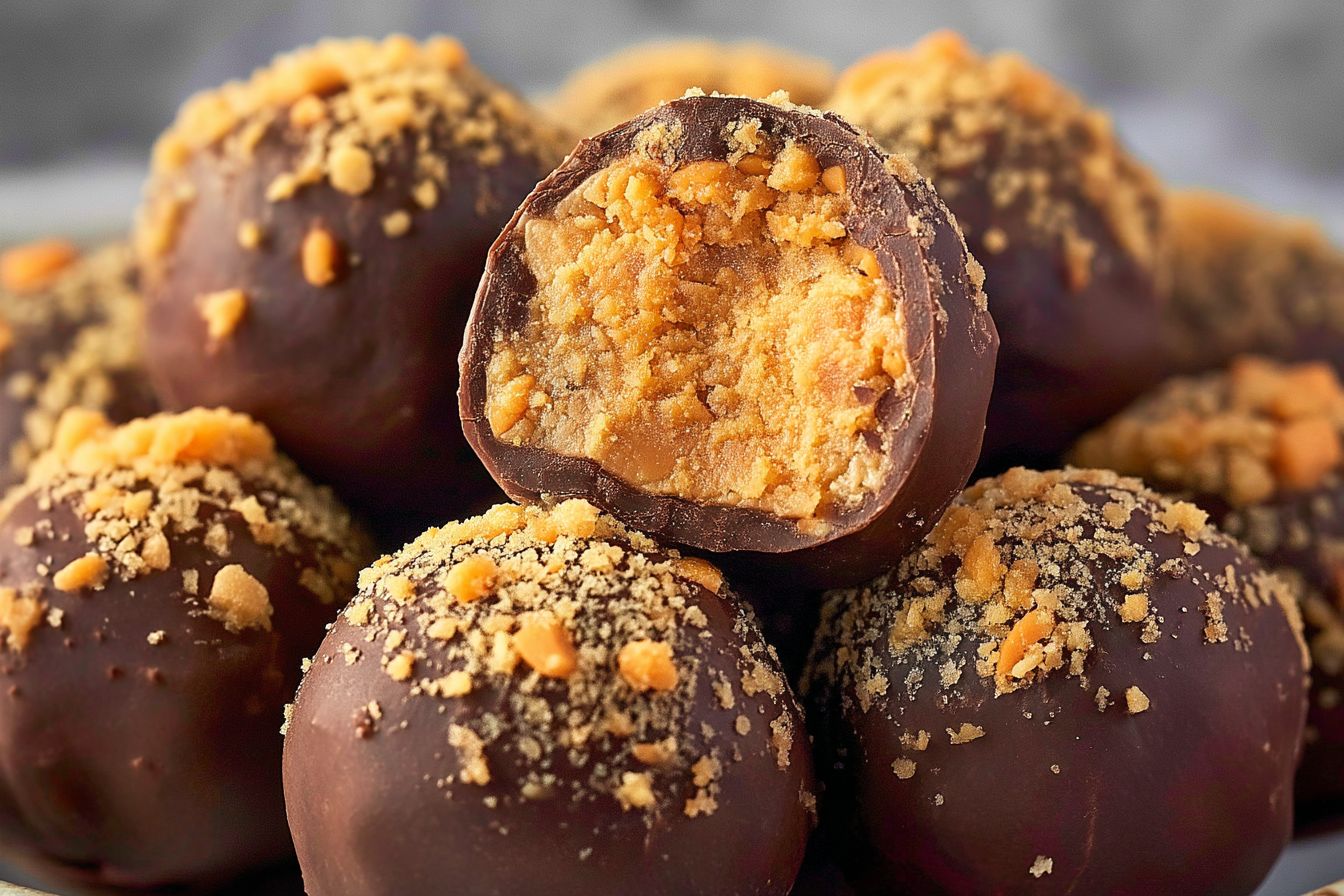
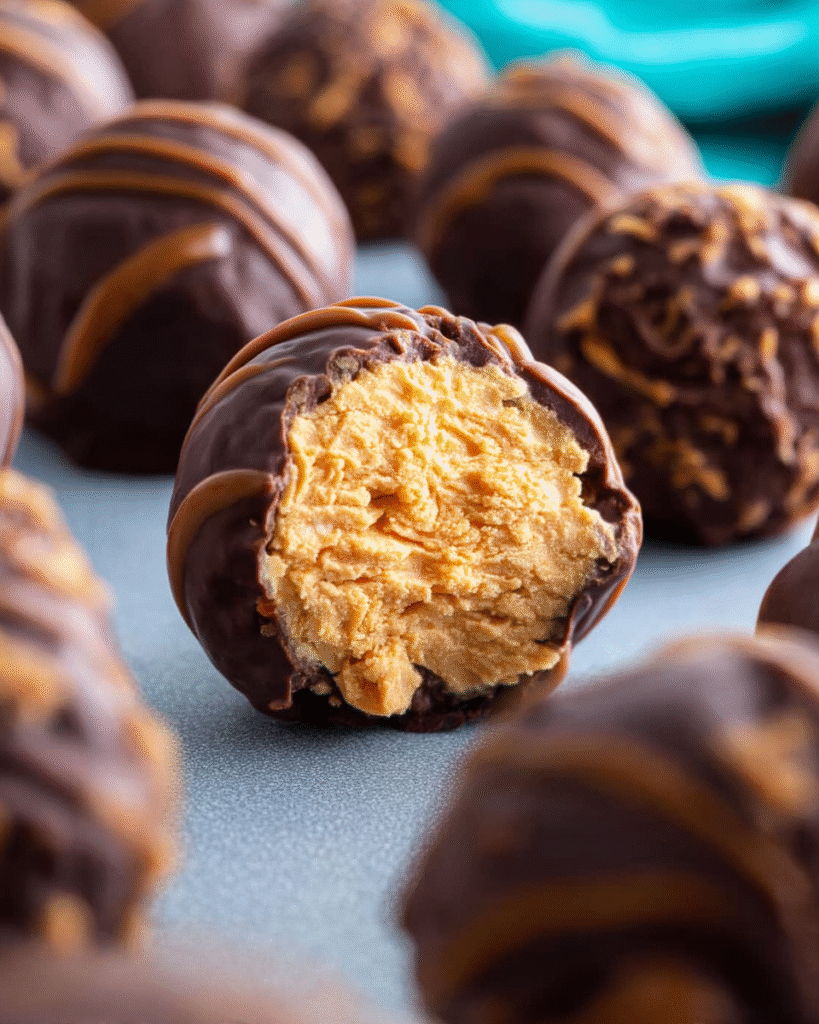
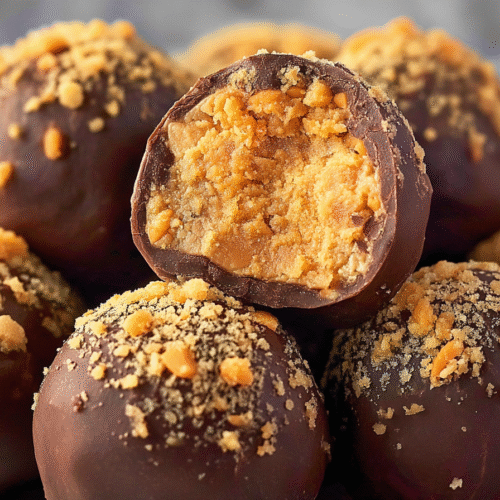
Hey friend, let’s talk about a sweet treat that’s pure candy bar magic: Butterfinger Balls! These little bites of heaven are like a love letter to Butterfinger fans—creamy peanut butter, crushed Butterfinger candy bars, and a touch of graham cracker crunch, all rolled into balls and dipped in smooth, rich chocolate. They’re sweet, crunchy, and melt-in-your-mouth delicious, with that iconic Butterfinger flavor in every bite. Perfect for holiday parties, potlucks, or just satisfying a late-night sweet tooth, these no-bake goodies are a total crowd-pleaser. I started making these a few years ago for a Christmas cookie swap, and they were such a hit that they’ve become my go-to for every gathering since. They’re quick, easy, and always disappear fast—trust me, you’ll want to hide a few for yourself! Ready to whip up some candy-coated joy? Let’s get started!
Why You’ll Love This Recipe
- No-bake ease: No oven needed—just mix, roll, chill, and dip. Done in about 30 minutes of active prep!
- Irresistible flavor: The combo of creamy peanut butter, crunchy Butterfinger bits, and chocolate coating is pure decadence.
- Party-perfect: These bite-sized treats are great for sharing (or not!) at holidays, game days, or any get-together.
- Kid and adult approved: Sweet, chocolatey, and fun to make—everyone loves these, picky eaters included.
- Make-ahead magic: Prep them days or even weeks in advance and store in the fridge or freezer.
- Customizable: Swap toppings, add sprinkles, or drizzle with white chocolate for a personal touch.
- Gluten-free potential: Use gluten-free graham crackers for a treat that fits dietary needs.
Ingredients You’ll Need
- Butterfinger candy bars (Fun-size bars or Butterfinger Bits for that signature crunch—crush them finely for the filling and save some for topping).
- Creamy peanut butter (Stick with Jif or Skippy; natural peanut butter can be too oily and mess with the texture).
- Unsalted butter (Softened, not melted, for a smooth, creamy base).
- Powdered sugar (Adds sweetness and helps the balls hold their shape).
- Graham cracker crumbs (For a subtle crunch and to balance the sweetness; crush your own or buy pre-crumbled).
- Vanilla extract (A splash enhances the flavor—don’t skip it!).
- Chocolate almond bark or melting wafers (Melts smoothly for a perfect coating; semi-sweet or milk chocolate both work).
- Optional: Sprinkles or flaky sea salt (For a fun or fancy finish).
(Note: A complete list of ingredients with exact measurements is included in the instructions section below.)
How to Make It (Step-by-Step Instructions)
Step 1: Crush the Butterfingers
Unwrap about 6 fun-size Butterfinger bars (or use ½ cup Butterfinger Bits). Place them in a zip-top bag and crush with a rolling pin until they’re fine crumbs. You want some texture but no big chunks. Set aside a tablespoon or two for garnishing later.
Pro tip: If you have a food processor, a quick pulse makes this step super fast—just don’t overdo it into powder.
Step 2: Mix the filling
In a large mixing bowl, combine 1 cup creamy peanut butter, ¼ cup softened unsalted butter, and 1 teaspoon vanilla extract. Use a hand mixer on medium speed (or a stand mixer with paddle attachment) to beat until smooth and creamy, about 1 minute. Gradually add 1 cup powdered sugar and ¾ cup graham cracker crumbs, mixing on low until combined. Fold in the crushed Butterfinger bars until evenly distributed.
Note: The mixture should be firm but pliable, like cookie dough. If it’s too sticky, add a bit more powdered sugar; if too dry, a touch more peanut butter.
Step 3: Roll the balls
Line a baking sheet with parchment paper. Use a 1-tablespoon cookie scoop (or your hands) to portion the mixture and roll into 1-inch balls. Place them on the baking sheet, making sure they don’t touch. You should get about 30–36 balls, depending on size. Pop the tray in the freezer for 30 minutes to firm up.
Heads-up: Chilling is key—it makes dipping easier and keeps the balls from falling apart in the warm chocolate.
Step 4: Melt the chocolate
Break 8 ounces of chocolate almond bark (or melting wafers) into a microwave-safe bowl. Microwave in 30-second intervals at 50% power, stirring after each, until smooth. Alternatively, use a double boiler over low heat. The chocolate should be deep enough for dipping, so don’t skimp!
Why this matters: Low, slow melting prevents the chocolate from seizing or burning, ensuring a glossy coating.
Step 5: Dip and decorate
Remove the balls from the freezer. Using a fork or toothpick, dip each ball into the melted chocolate, fully coating it. Let excess chocolate drip off, then place back on the parchment-lined baking sheet. While the chocolate is still wet, sprinkle with reserved Butterfinger crumbs, holiday sprinkles, or a pinch of flaky sea salt. If you want a drizzle, melt 2 ounces of extra chocolate (or white chocolate) and drizzle over the tops with a fork or piping bag.
Optional tweak: For a “buckeye” style, leave a small circle of the filling exposed on top instead of fully coating.
Step 6: Chill and serve
Refrigerate the balls for 15–20 minutes until the chocolate is set. Serve at room temperature for the best texture—let them sit out for 10 minutes before enjoying. Store leftovers in an airtight container in the fridge or freezer.
Serving tip: Arrange on a festive platter with mini cupcake liners for a cute, party-ready presentation.
Helpful Tips
These Butterfinger Balls are a guaranteed hit, but these tips will make them even better and fit your lifestyle:
- Meal prep and make-ahead: Shape the balls up to a week ahead and store undipped in the fridge or freezer. Dip in chocolate a day or two before serving for maximum freshness. Perfect for holiday prep!
- Storage smarts: Keep in an airtight container in the fridge for up to 2 weeks. Layer with wax or parchment paper to prevent sticking. For freezing, flash-freeze on a baking sheet for an hour, then transfer to a freezer-safe bag for up to 3 months. Thaw in the fridge or at room temp for 30 minutes.
- Reheating? Not needed!: These are best enjoyed at room temperature or slightly chilled. If frozen, let them thaw slowly to avoid condensation messing with the chocolate.
- Perfect pairings: Serve with coffee, hot cocoa, or milk for a classic combo. For parties, pair with savory snacks like a charcuterie board or pretzels to balance the sweetness. They’re also great with a glass of red wine for an adult treat!
- Creative twists: Swap Butterfingers for crushed Reese’s or Snickers for a different candy vibe. Add a tablespoon of espresso powder to the filling for a mocha kick. Try white chocolate coating or mix in Rice Krispies for extra crunch.
- Gluten-free option: Use gluten-free graham crackers or swap for crushed gluten-free cookies like vanilla wafers. Double-check your Butterfinger bars or bits for gluten-free labeling.
Frequently Asked Questions (FAQs)
Can I make these Butterfinger Balls ahead of time?
Yes! Shape the balls and store undipped in the fridge for up to a week or freezer for 3 months. Dip in chocolate a day or two before serving. Fully prepared balls keep in the fridge for 2 weeks.
Can I freeze Butterfinger Balls?
Absolutely! Flash-freeze on a baking sheet for an hour, then store in a freezer-safe bag for up to 3 months. Thaw in the fridge overnight or at room temp for 30 minutes before serving.
What if I don’t have graham cracker crumbs?
You can crush vanilla wafers, Biscoff cookies, or even pretzels for a salty twist. For gluten-free, use gluten-free cookies or finely chopped nuts. Aim for ¾ cup of crumbs.
Are these good for meal prep?
They’re perfect for prep! Make a batch, store in the fridge or freezer, and grab as needed for snacks, desserts, or gifts. They’re portable and stay fresh for weeks.
How do I make them vegetarian/vegan?
The recipe is vegetarian as is. For vegan, use plant-based butter, vegan chocolate, and check that your Butterfinger bars or bits are vegan (or swap for a vegan candy). Replace graham crackers with vegan cookies.
I make these Butterfinger Balls every holiday season, and they’re always the first treat to vanish from the dessert table! They’re my secret weapon for last-minute gifts or when I need a quick, impressive treat. One final tip: gift-wrap them in cute cellophane bags with a ribbon for a homemade present that’ll wow everyone. Give these a try and let me know how they turn out—I’d love to hear your favorite ways to decorate them or what candy you swap in!
Butterfinger Balls
Ingredients
- 1 8-ounce package cream cheese, softened
- 1 cup peanut butter
- 1 cup powdered sugar
- 2 Butterfinger candy bars crushed
- 1 ½ cups chocolate chips milk or semi-sweet
Instructions
- Prepare the mixture: In a large mixing bowl, combine the softened cream cheese, peanut butter, and powdered sugar. Stir until smooth and well combined.
- Add the candy: Crush the Butterfinger bars into small pieces and fold them into the peanut butter mixture.
- Form the balls: Use your hands to roll the mixture into 1-inch balls, placing them on a baking sheet lined with parchment paper.
- Chill the balls: Place the baking sheet in the fridge and chill the peanut butter balls for at least 30 minutes, allowing them to firm up.
- Melt the chocolate: While the balls are chilling, melt the chocolate chips in a microwave-safe bowl in 20-second intervals, stirring in between, until smooth and fully melted.
- Coat the balls: Dip each chilled ball into the melted chocolate, coating it completely. Return the chocolate-covered balls to the parchment-lined baking sheet.
- Chill again: Place the chocolate-coated balls back in the fridge for another 20–30 minutes, or until the chocolate is set.
- Serve: Once set, serve immediately or store in an airtight container in the fridge for up to 1 week.
Notes
- If you prefer a different type of chocolate, feel free to use white chocolate or dark chocolate for dipping.
- These can be made ahead and stored in the fridge for a fun, sweet treat whenever you want.
- If you don’t have Butterfinger bars, you can substitute with other crispy peanut butter candy bars like Reese’s or Crunch.