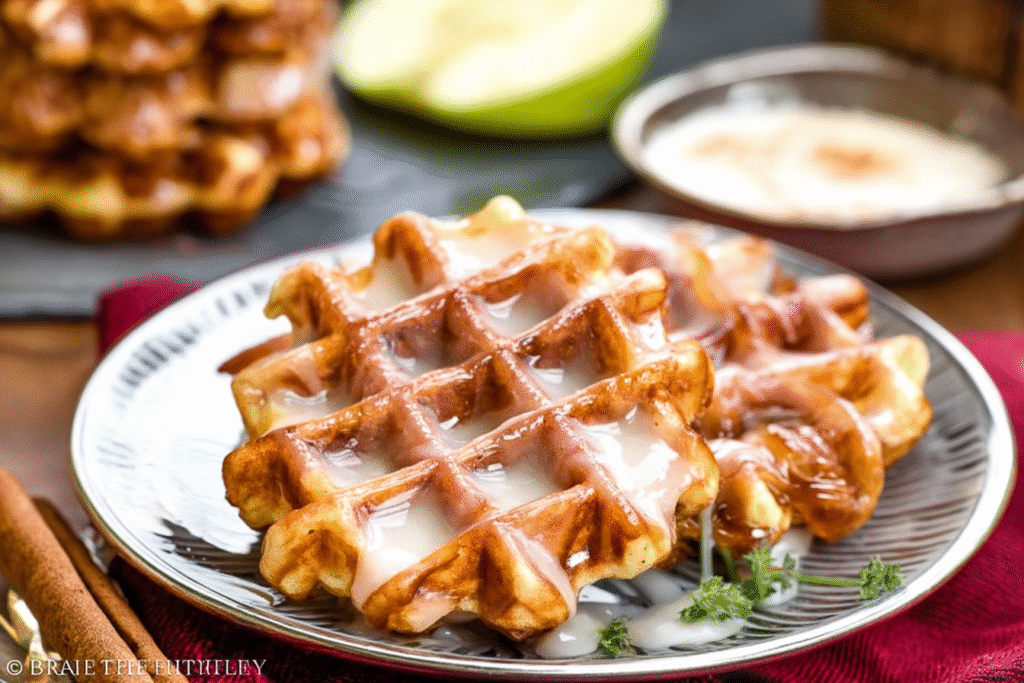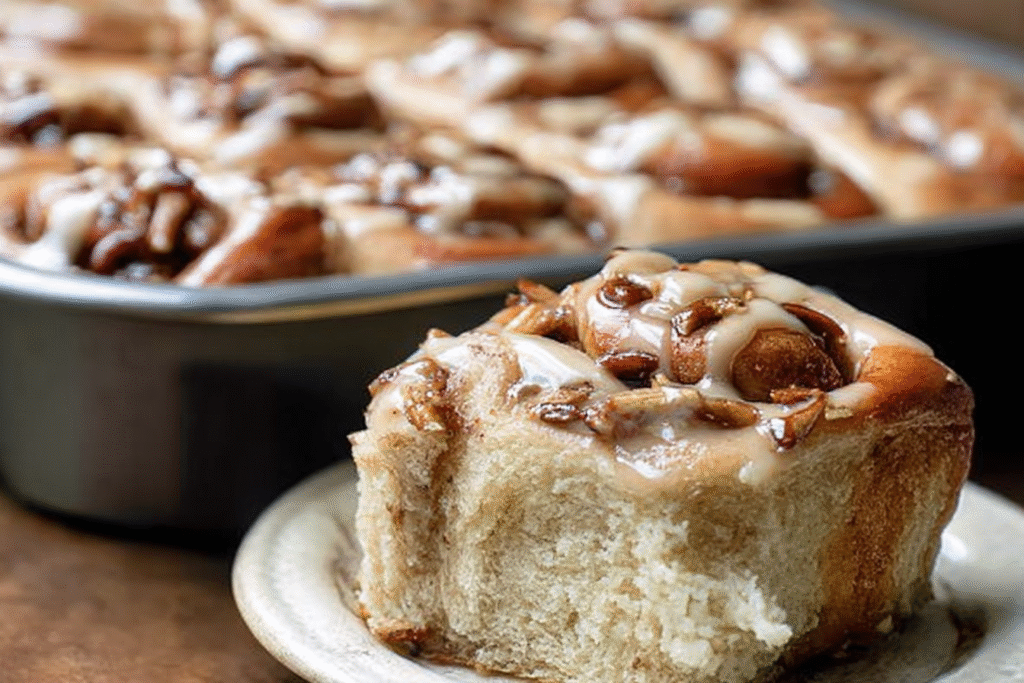

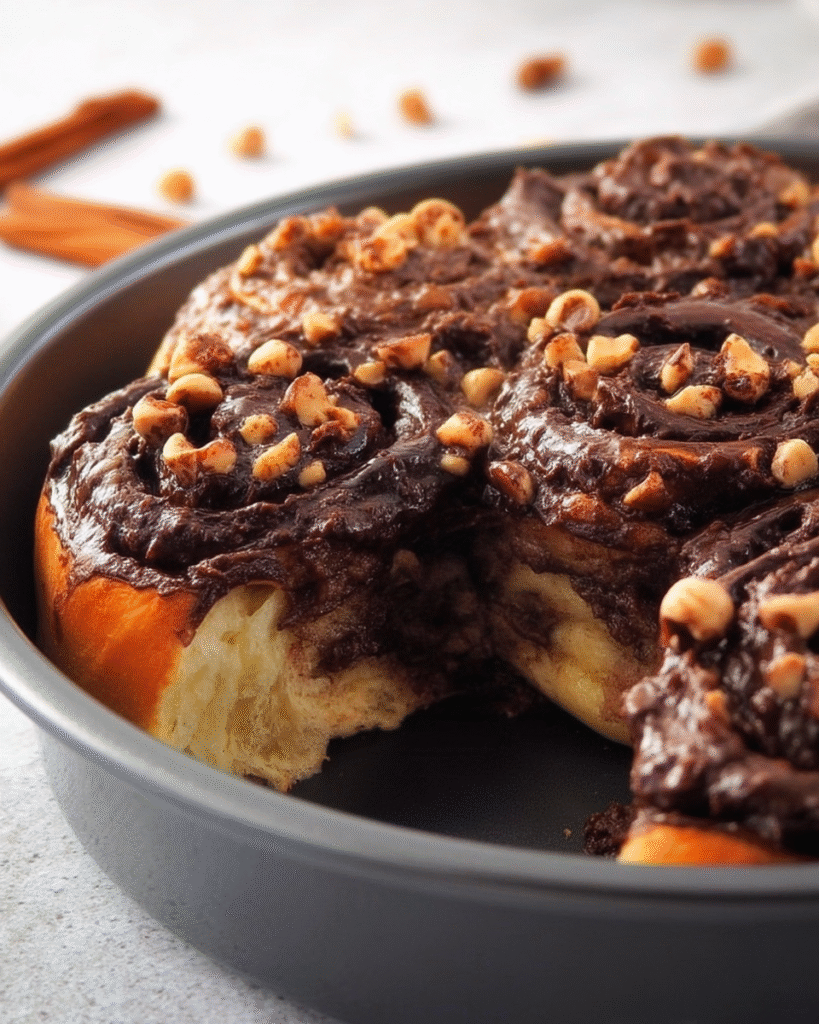
Let me introduce you to your new favorite sweet treat: Chocolate Hazelnut Rolls. These are like the delicious love child of a cinnamon roll and a pain au chocolat—soft, pillowy dough swirled with rich chocolate-hazelnut spread (hello, Nutella lovers), topped with a golden crust and optionally finished with a sprinkle of toasted hazelnuts or a simple drizzle of icing. They’re warm, gooey, a little decadent, and totally worth the effort.
These rolls are perfect for slow weekend mornings, brunches with friends, or any time you want to bake something that makes your kitchen smell like a European bakery. I’ve even made them for dessert at dinner parties, served warm with a scoop of vanilla ice cream. Spoiler: not one leftover.
I first started making these when I wanted something sweet but not too sugary for breakfast. I had extra dough from a bread recipe and half a jar of Nutella calling my name—so I improvised. A few tweaks later, these rolls became part of my baking rotation and, honestly, I look forward to them every time I plan a cozy morning at home.
Preparation Time:
- Dough prep & first rise: 15 minutes active + 1 hour rising
- Rolling and filling: 20 minutes
- Second rise: 30 minutes
- Baking time: 25–30 minutes
- Total time: About 2.5 hours (including resting)
- Servings: Makes 9–12 rolls depending on how you slice them
Why You’ll Love This Recipe:
- Soft, buttery dough – Tender and fluffy with just the right amount of chew.
- Chocolatey without being too sweet – The hazelnut spread melts into the dough and gives rich flavor without overwhelming sugar.
- Make-ahead friendly – You can prep these the night before and bake in the morning.
- Great for brunch or dessert – Versatile enough to serve any time of day.
- Easy to customize – Add nuts, spices, or even fruit jam for a twist.
- Beginner-friendly dough – No fancy equipment or ingredients required.
- Smells like heaven while baking – Seriously, it’s worth it for the aroma alone.
Ingredients You’ll Need:
For the Dough:
- All-purpose flour – The backbone of the rolls. Bread flour works too for a chewier texture.
- Milk – Warm (not hot!) to activate the yeast.
- Active dry yeast – Gives the dough that lovely rise. Instant yeast also works.
- Sugar – Just a bit to feed the yeast and sweeten the dough.
- Salt – Balances the sweetness.
- Butter – Unsalted and softened. Adds richness and softness.
- Egg – Adds structure and helps the rolls rise beautifully.
For the Filling:
- Chocolate-hazelnut spread – Nutella or any similar spread. Make sure it’s spreadable (room temp is best).
- Optional chopped hazelnuts – Toasted for crunch and extra hazelnut flavor.
- Optional sprinkle of cinnamon – Adds depth and warmth.
For the Topping (optional but recommended):
- Extra hazelnuts – Toasted and sprinkled on top.
- Powdered sugar glaze – Just powdered sugar + a splash of milk or cream.
- Egg wash – For a golden, glossy finish.
(Note: A complete list of ingredients with exact measurements is included in the instructions section below.)
How to Make It (Step-by-Step Instructions):
Step 1: Make the dough
Warm your milk (it should feel like a warm bath, not scalding) and pour it into a large mixing bowl. Stir in the sugar and yeast and let it sit for 5–10 minutes until it looks a little foamy. That means your yeast is alive and ready.
Add the softened butter, egg, and salt, then gradually stir in the flour. Once it starts to come together, knead by hand (or use a stand mixer with the dough hook) for 6–8 minutes, until the dough is smooth and slightly tacky.
Form into a ball, place in a lightly greased bowl, cover with a towel, and let it rise in a warm spot for about 1 hour or until doubled in size.
Step 2: Roll it out
Once the dough has risen, punch it down and turn it out onto a lightly floured surface. Roll it into a rectangle about 12×16 inches. It doesn’t have to be perfect—this is home baking, after all.
Step 3: Add the filling
Spread your chocolate-hazelnut spread evenly over the dough, going all the way to the edges. If you’re using chopped hazelnuts or cinnamon, sprinkle them on top now.
Step 4: Roll it up and cut
Starting from the long edge, roll the dough into a log. Try to keep it tight, but don’t stress if it gets a little uneven. Use a sharp knife or unflavored dental floss to cut the log into 9–12 rolls, depending on how thick you like them.
Step 5: Let them rise again
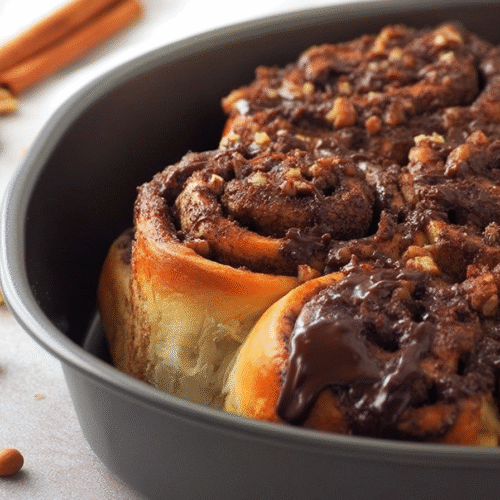
Place the rolls in a greased or parchment-lined baking dish, leaving a little space between each one. Cover loosely with a towel or plastic wrap and let them rise again for about 30 minutes—they should puff up and look soft.
Step 6: Bake and enjoy
Preheat your oven to 350°F (175°C). Brush the tops with a little egg wash (1 egg + 1 tbsp milk or water) for a glossy, golden crust. Bake for 25–30 minutes, or until the tops are lightly browned and your kitchen smells amazing.
Let them cool slightly before topping with a glaze or extra chopped hazelnuts if you’re feeling fancy.
Helpful Tips:
Want to prep the night before?
You totally can. After placing the cut rolls in the baking dish, cover tightly and pop them in the fridge overnight. In the morning, let them come to room temperature for 30–45 minutes before baking.
Storing leftovers
These rolls are best the day they’re baked, but you can store them in an airtight container at room temp for up to 2 days. Reheat in the microwave for 10–15 seconds for that just-baked feel.
How to reheat without drying out
Cover with foil and warm in a low oven (300°F) for about 10 minutes, or microwave briefly. You can also add a little pat of butter before reheating to keep them moist.
What to serve with them
These are great with coffee, tea, or a cold glass of milk. For a brunch spread, serve them alongside fresh fruit, yogurt, and maybe some scrambled eggs or quiche for balance.
Creative twists
- Add a layer of raspberry or cherry jam under the hazelnut spread for a fruity kick.
- Mix mini chocolate chips into the filling for extra gooey-ness.
- Top with a cream cheese frosting instead of glaze for a richer dessert vibe.
- Add orange zest to the dough for a chocolate-orange flavor combo (trust me, it works!).
Frequently Asked Questions (FAQs):
Can I make these ahead of time?
Absolutely. You can assemble them the night before and refrigerate, or freeze them after shaping and bake when ready (just add a few minutes to the baking time).
Can I freeze them?
Yes! Freeze the unbaked rolls on a tray, then transfer to a zip-top bag. Bake from frozen, adding 5–10 minutes more, or thaw overnight in the fridge and bake as usual.
What if I don’t have Nutella?
You can use any chocolate-hazelnut spread, or even make your own. Chocolate peanut butter or almond butter also works if you’re open to variations.
Do I need to toast the hazelnuts?
It’s optional, but recommended! Toasting brings out their flavor and adds a nice crunch. Just bake them at 350°F for 8–10 minutes until fragrant, then chop.
Can I make these without a stand mixer?
Definitely. This dough is easy to mix and knead by hand—just a bit of elbow grease and a good playlist will get you there.
I make these Chocolate Hazelnut Rolls anytime I want a special treat that doesn’t require a pastry degree. They’re simple, satisfying, and way better than store-bought rolls. The smell alone makes it worth the effort—warm chocolate and yeasty dough? Come on.
Give them a try and let me know how they turn out! And if you get creative with the fillings or toppings, I want to hear about it—tag me or drop a comment. These rolls are made to be shared, whether with friends, family, or just your lucky self.Joindre
Chocolate Hazelnut Rolls
Ingredients
- For the Dough:
- 3 cups all-purpose flour
- 2¼ tsp active dry yeast 1 packet
- ¼ cup granulated sugar
- ½ tsp salt
- ¾ cup warm milk about 110°F
- ¼ cup unsalted butter melted
- 1 large egg
- For the Filling:
- ½ cup chocolate hazelnut spread like Nutella
- ½ cup chopped toasted hazelnuts
- 2 tbsp brown sugar optional, for extra sweetness
- For the Glaze:
- 1 cup powdered sugar
- 2 –3 tbsp milk or cream
- ½ tsp vanilla extract
Instructions
- Activate the Yeast:
- Warm the milk and stir in the sugar and yeast. Let it sit for 5–10 minutes until foamy.
- Mix the Dough:
- In a mixing bowl, combine the flour and salt. Add the yeast mixture, melted butter, and egg. Stir until a soft dough forms.
- Knead the Dough:
- Knead for 8–10 minutes until smooth and elastic. Add a bit more flour if too sticky. Place in a greased bowl, cover, and let rise until doubled, about 1 hour.
- Prepare the Filling:
- Toast the hazelnuts (if not already toasted) and chop them finely. Set aside.
- Roll and Fill:
- Roll the risen dough into a rectangle about 10×14 inches. Spread evenly with chocolate hazelnut spread and sprinkle with chopped hazelnuts and optional brown sugar.
- Shape the Rolls:
- Roll up the dough tightly from the long side and slice into 12 even rolls. Place in a greased 9×13-inch pan.
- Second Rise:
- Cover and let the rolls rise for another 30 minutes until puffy.
- Bake:
- Preheat oven to 350°F (175°C). Bake for 22–25 minutes, or until golden brown.
- Make the Glaze:
- While the rolls bake, whisk together powdered sugar, milk, and vanilla until smooth.
- Glaze and Serve:
- Let the rolls cool slightly, then drizzle with glaze and serve warm.
Notes
- For an extra indulgent twist, add a few mini chocolate chips inside the filling.
- These can be prepped the night before. Let rise in the fridge overnight, then bake in the morning.
- Swap hazelnuts for pecans or almonds if preferred.